How To Make Wedding Invitations for Under $100
Don't miss the illustration process below!
Part 1.
Weddings are a time of great joy, romance and spending large amounts of money. I am in the midst of all of that beauty and expense right now, with a wedding to the love of my life just around the corner.
From the start, my fiance and I have done our best to not get caught up in the "supposed tos" that come with a wedding: Supposed to have a cake, supposed to spend thousands of dollars of flowers, and supposed to spend a lot of money on elaborate invitations.
Let's face it, as exciting and romantic as a wedding is, most invitations get thrown out after it's all over. Couples spend $500 - $2000 for 100-150 wedding invitations. That's nuts. Most young couples don't have that kind of money (unless someone else is paying for it all) and even if you do have that kind of cash, wouldn't you rather put it towards something, anything else? The honeymoon, the booze, ....rent? Here is how I made our wedding invitation for about $85 plus postage.
1. Be an Illustrator or Designer
Not an Illustrator or Graphic Designer? Give it a shot anyway, or hire someone. At least that extra money will go toward a working artist instead of.....embossers.
2. Print Through a Service That Doesn't Do "Wedding Invitations"
If you have started talking to florists, caterers and venues I'm sure you have noticed when you utter the words "-for our wedding" service providers' eyes roll back and a single stream of saliva trickles down their chin. That's when they start adding 0's to all their prices. Don't call your reception a "wedding Reception" call it a "private party." And when printing your invitations, check the box for postcards, greeting cards, business cards, ANYTHING BUT "Wedding Invitation."
We printed our invitations as postcards through BandsonaBudget.com. This was my first time working with them and I am really impressed. They responded to my order with an email that day and they shipped in less than a week. The printing is crisp and the colors are exact. We got 250 postcards (invitations, shhh) for $56 including shipping. We will have to recycle about 100 of them but what can ya' do?
3. Forget about the extra stuff
Receiving a wedding invitation that includes a little self addressed stamped envelope and RSVP card asking you to check chicken or beef is cute but isn't it kind of antiquated? Everyone has access to the Internet, or at least access to a son who is "good with computers." We just included a link on the back of our invitation where guests can RSVP, see a map and get any additional info they may need. One postcard in one envelope. Bam.
Work with standard sizes
We walked into a local Paper Source and bought envelopes off the rack. They are 5.75" x 4.3." Just big enough to house our standard size 5.5" x 4.25" postcards, AND just squeaking under a large "specialty size" price jump at the post office. Check out standard sizes and maybe choose your printer before you get started designing.
That's my advice on creating wedding invitations that are easy and inexpensive. I'm sure everything will go just as smoothly.
Part 2. The Process
Both the front and back illustrations were created by hand and colored digitally. Here is the whole process, inspiration, roughs and all.
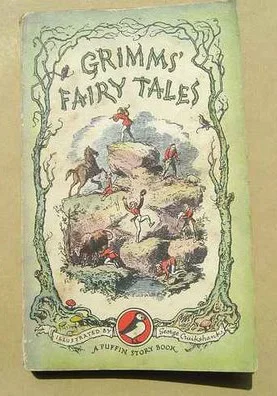
Grimm's Fairy Tales, book cover
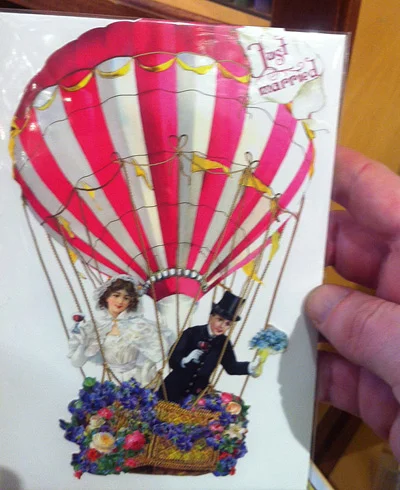
A "Just Married" card we found at a stationary store
The Inspiration
This illustration started with the things we both love. My fiance and I are very inspired by German art and crafts from the Black Forest, fancy old-timey parties, and our city, San Francisco. We settled on the idea of a hot-air balloon early-on. It's a great symbol of setting off to a world of adventures. Then I got into looking at some of my favorite illustrations from Grimm Fairy Tales and started playing with the idea of a magical forest scene.
The Rough
I liked the idea of being surrounded by adoring woodland creatures. Having a huge bear officiate our wedding seemed weird and appropriate enough, but the scene ended up feeling too quiet and private.
I went ahead and drew the "border" trees and such, figuring I would decide what to add to the scene when I have to. The line work is done with brown acrylic paint on Claybord.
Using tracing paper, I roughed in my fiance and I riding away on a leaping narwhal. It was bizarre and more exciting than before, but still not right.
After sleeping on it I realized we should be riding a hot air balloon-carousel horse hybrid. I really tried to push for fun shapes that fill out the scene, leaving as little negative space as possible.
We took a lot of reference photos but I ended up making the poses up.
With the drawing scanned at hi resolution, it is ready to be colored in Photoshop. I had to check myself from going overboard with rendering at this stage. There is already so much going on with the line drawing, it can get confusing and weird looking fast. I made sure to stick to a color story that my bride had already put together for the wedding.
Don't forget the back! I already had this Bigfoot / unicorn wedding scene drawn, so I recolored it to be an ultra-subtle background image. The text was laid out in Illustrator. By having both of these images bleed off into flat color, it's easy to make sure the artwork fits within the "safe area" in the printer provided template.
Don't be trying to read our info!
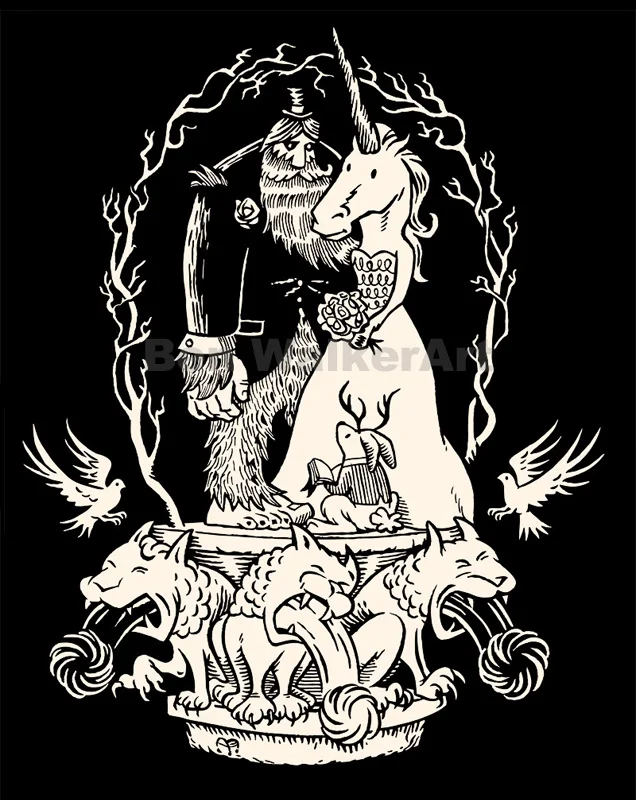
Bigfoot's Big Day
Thanks for checking this out! If you would like to support our romantic life together, hire me to make your wedding invitation, or I can even paint live at your wedding, fundraiser or Bar Mitzvah. Bigfoot's Big Day is available as a T-shirt!